👣 How to Remove Calluses at Home (A Safe & Soothing Guide)
👣 How to Remove Calluses at Home (A Safe & Soothing Guide) 👣
Calluses are thick, hardened patches of skin. They often form on the feet and hands. They are your body's natural response to repeated friction and pressure. While they are a form of protection, they can be uncomfortable and unsightly.
You might be tempted to cut or scrape them off aggressively. However, this can be dangerous. So, how do you remove calluses at home safely? The key is a gentle, three-step process. It involves soaking, filing, and moisturizing.
This guide will walk you through the safest way to treat calluses. Let's get your skin feeling soft and smooth again. ✅
Important Medical Note: If you have diabetes, poor circulation, or nerve damage, do not treat calluses at home. Please see a podiatrist for safe, professional care.
Step 1: What is the Most Important Step to Begin?
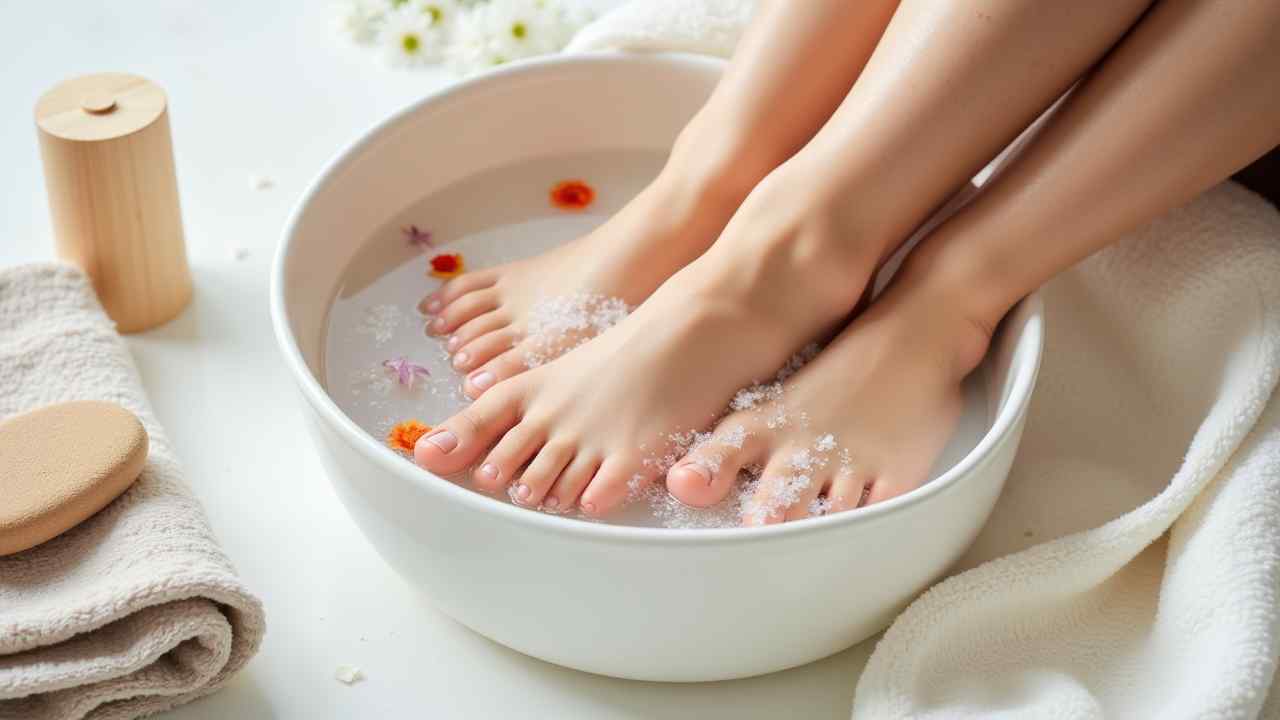
The first and most essential step is to soften the skin. A hard, dry callus is very difficult to remove safely. Soaking the area in warm water makes the thick skin pliable. This prepares it for gentle exfoliation.
How to do it:
- Fill a basin or bathtub with warm water. It should be comfortable, not hot.
- Add about a half-cup of Epsom salts to the water. This can help to soothe the skin.
- Soak your hands or feet for at least 10 to 20 minutes.
This simple soak is non-negotiable. It makes the entire process much easier and more effective. It is the foundation of how to remove calluses at home.
Step 2: How Do You Gently Exfoliate the Softened Skin?
Once the skin is soft, you can begin to remove the layers of dead skin. The key word here is gently. The goal is to remove the callus gradually, not all at once. This prevents you from damaging the healthy skin underneath.
What is the best tool to use?
The safest and most effective tool is a pumice stone or a foot file. These are designed to gently buff away dead skin. They provide a controlled and safe way to exfoliate.
What is the correct technique?
After soaking, pat your skin mostly dry. Then, rub the pumice stone over the callus. Use a gentle circular or back-and-forth motion. Do not apply too much pressure. Rinse the area periodically to check your progress. Stop immediately if you feel any pain or irritation.
Step 3: What is the CRITICAL Final Step?
The final step is to deeply moisturize the area. This is a crucial part of the process. After exfoliating, the new skin is exposed. It needs hydration to stay soft and healthy. This also helps to prevent the callus from coming back quickly.
What kind of cream is best? Look for a thick, heavy-duty foot cream. The best ones contain ingredients that help break down hard skin. Creams with urea, salicylic acid, or lactic acid are excellent choices. 🧴
For the best results, apply the cream at night. Put a generous layer on your feet. Then, cover them with a pair of cotton socks. This "overnight mask" helps the cream penetrate deeply. You will wake up with noticeably softer skin.
🚫 What Should You Absolutely AVOID Doing?
When you are learning how to remove calluses at home, knowing what not to do is vital for your safety. Never do the following:
- Do Not Cut Your Calluses: Never use a razor, blade, or scissors. This is extremely dangerous. It can lead to a deep wound and a serious infection. Leave cutting to medical professionals.
- Avoid Harsh Chemical Peels: Be very cautious with aggressive "foot peel" products. They can be too harsh and cause excessive irritation.
Remember, this is a gradual process. It may take several sessions of soaking and filing. With patience and the right routine, you can safely achieve smoother, more comfortable skin. ✨