Gorilla Glue on Skin? 😱 Get It Off!
The Panic Moment: It's Stuck!
It is a moment of pure, sticky panic. 😱 You were fixing a project. You were using Gorilla Glue. 🛠️ You thought you were being careful. You were not. You look down. The glue is on your hands. 🖐️ It is brown. It is foamy. It is expanding. And it is hard. It is as hard as a rock. You are now bonded to your project. Or your fingers are stuck together. Your first instinct is to run to the sink. You try to scrub it. You try to peel it. You try to pull your fingers apart. STOP! DO NOT DO THIS. 🚫 This is the most important rule. You are about to make the problem worse. This guide is your emergency plan. We will get this off. We will do it safely. We will not rip your skin. Breathe. It is not permanent. We will dissolve it.
The Golden Rule: DO NOT PULL 🚫
I must say this again. It is that important. DO NOT PULL, PICK, PEEL, OR PRY. If your fingers are glued together, do not force them apart. If the glue is on your skin, do not try to peel it off. Why? Gorilla Glue is a powerful adhesive. It is designed to bond materials. The bond it forms with your top layer of skin... ...is stronger than the bond your skin layers have with each other. If you rip the glue off, you will not just remove the glue. You will rip your skin off with it. 🩸 This will create a painful, open wound. It is a serious risk for a staph infection. 🦠 We are not going to use force. We are going to use chemistry. We are going to use patience. We will dissolve the bond. And we will exfoliate the skin. This is the safe, painless way.
Know Your Enemy: What IS Gorilla Glue?
This is a critical, scientific fact. You must understand this. Gorilla Glue is NOT Super Glue. This is the #1 mistake people make. They are totally different chemicals. They have different removal methods. Super Glue (or Krazy Glue) is a Cyanoacrylate. It is a thin, fast-bonding plastic. It is best dissolved by Acetone. (Nail polish remover). ( Gorilla Glue (the original, brown kind) is a Polyurethane. Polyurethane This is a different beast entirely. It is a strong, expanding, foamy adhesive. It has a different weakness. Its main weakness is oil. Oil There is a second, vital fact you must know.
Gorilla Glue is WATER-ACTIVATED 💧
This is the secret. This is why your first instinct is so wrong. How does Gorilla Glue cure? It pulls moisture from the air. It pulls moisture from the wood. Or from your skin. This moisture is the catalyst. It is what makes the glue expand, foam, and harden. Water is the "on" switch for this glue. So, what happens when you run to the sink? What happens when you add soap and water? You are curing the glue. You are making it harder. You are making it stronger. You are making the problem worse. This is why scrubbing with water makes it a hard, gummy, impossible mess. You are literally activating the glue on your hands. The time for water is later. Not at first. At first, we must use a different plan.
The 4 Safe Methods to Remove Gorilla Glue
Here is your action plan. We will start with the gentlest method first. We will only escalate if we have to. Patience is the #1 ingredient for all of these. 🔑
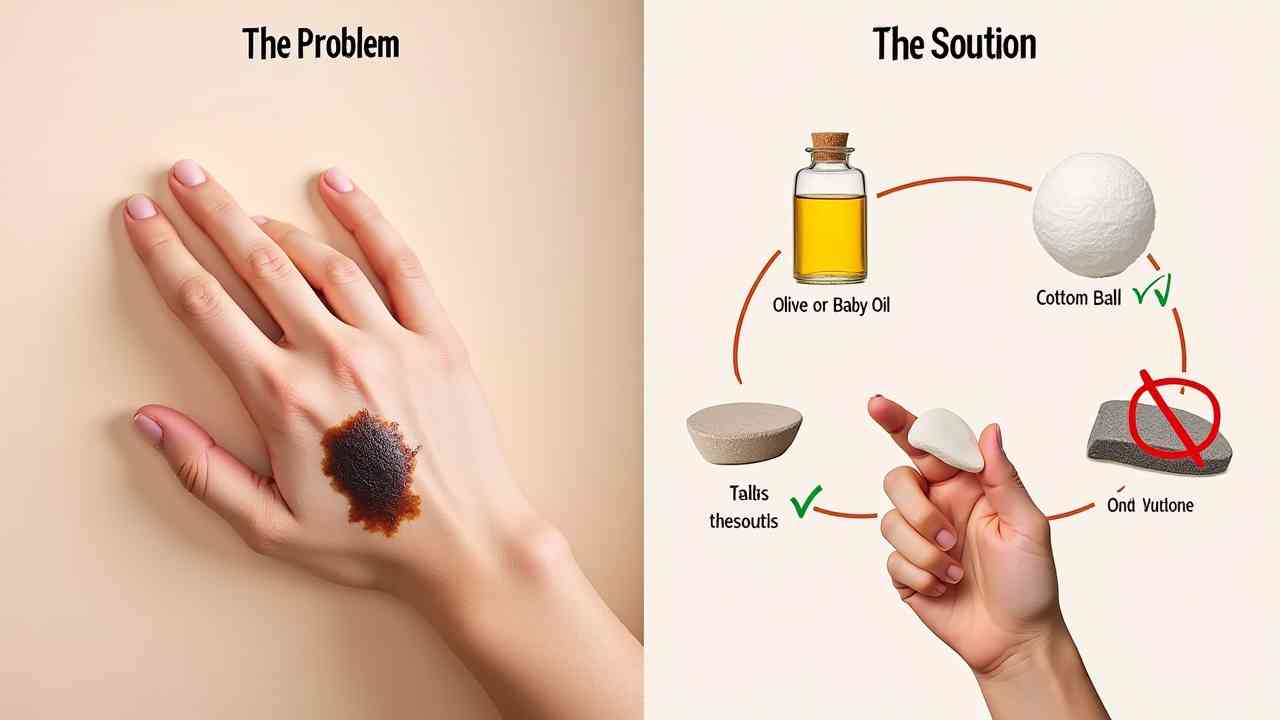
Method 1: The Oil Soak (Best & Safest Solvent) 🥇
This is your first, best, and safest choice. It is highly effective for polyurethane. The rule is: Like dissolves like. Gorilla Glue is an oil-based polymer. A simple, skin-safe oil is the perfect solvent. It will get under the glue. It will break the bond. And, it will moisturize your skin at the same time. ✨ What You Need:
- A skin-safe oil. Any of these will work.
- Baby Oil or Mineral Oil (The classic).
- Olive Oil 🫒 (Go to your kitchen. Grab the bottle. It is perfect).
- Coconut Oil 🥥 (Great choice, smells good, less drippy).
- Petroleum Jelly (Vaseline) 💎 (This is a fantastic, thick option. It will not drip. It stays in place).
Method 2: The Exfoliation Method (The Safest Way) 🪨
This is the other 100% safe method. It is often used with the oil method. The Science: The glue is only on your epidermis. This is the top, dead layer of your skin. Your body is going to shed this skin anyway. (In 3-5 days). (This method just speeds up that process. We are just going to scrub the dead skin off. The glue will come with it. What You Need:
- A gentle abrasive.
- A Pumice Stone (The best choice). 🪨
- A "gritty" paste. (e.g., Oil + Salt, or Oil + Sugar).
- A rough washcloth.
Method 3: Acetone (The "Last Resort") ☢️
This is the harsh, chemical method. Try this only if oil and scrubbing fail. It is not the best solvent for polyurethane. (Oil is better). But it is a solvent. It will work. Acetone is the main ingredient in nail polish remover. 💅 It is extremely drying. It will strip all the oils from your skin. It can cause irritation. Use it with great care. U What You Need:
- 100% Acetone Nail Polish Remover. (The "non-acetone" kind will NOT work).
- Cotton balls.
- A thick moisturizer for aftercare.
Method 4: The "Do Nothing" Method (Time) ⏳
This is the 100% safest, 100% most effective method. It just requires the most patience. The secret? Just wait. Do nothing. Your skin is a living organ. It is not a piece of wood. It is constantly shedding its top layer. The glue is only stuck to your epidermis. The top, dead layer of skin. Your body will shed this dead skin. It will shed it in 3 to 5 days. The glue is stuck to the dead skin. So, the glue will shed with it. The stain will get smaller. The edges will lift. And one day, it will just... peel off. In the shower. With no pain. And no effort. This is the best method. If the glue is not in a visible place... ...and it is not bothering you... ...just leave it alone. Your body will do the work for you. It is a 100% damage-free solution.
Part 5: The Treatment (Essential Aftercare) 🩹✨
This is the most important part of "treating" your skin. You have now removed the glue. Congratulations. 🎉 But your skin is not okay. You have just attacked it. You used a solvent (oil/acetone). You used an abrasive (pumice/scrub). You have just stripped your skin's natural moisture barrier. 🛡️ The skin is now raw, dry, and irritated. It is vulnerable. You must now repair that barrier. This is a 3-step process.
Step 1: Gentle Cleansing
You must wash away the solvent. You cannot leave acetone or oily glue residue on your skin. Use a gentle, hydrating cleanser. 🧼 Do not use harsh soap. Use a mild, moisturizing soap. (Like Dove, Cetaphil, CeraVe). Use lukewarm water. Not hot water. Hot water strips even more oils. Pat the skin dry. Use a soft towel. Do not rub.
Step 2: Moisturize Immediately & Heavily
This is the non-negotiable step. Your skin is stripped. You must apply a thick, heavy, healing cream. Do not use a light, fluffy, scented lotion. It is useless. It might sting. You need a "barrier repair" cream. An occlusive. The Best Choices:
- Petroleum Jelly (Vaseline): The king. The #1 choice. It is 100% occlusive. It will seal your raw skin. It will let it heal. It is the best skin protectant. 💎
- CeraVe Moisturizing Cream: Full of ceramides (your skin's natural "bricks").
- Aquaphor Healing Ointment: A mix of petrolatum and lanolin. Very healing. V
- A Heavy Hand Cream: (Like O'Keeffe's Working Hands or Eucerin).
Conclusion: Be Patient. Be Oily. Be Gentle.
Gorilla Glue on your skin is scary. But it is not permanent. Remember the golden rules. Do not panic. Do not pull. And do not use water on a fresh spill. It makes it worse. Your 3-step solution is simple: 💡 1. DISSOLVE (The Best Way): Use OIL. (Baby oil, olive oil, coconut oil, Vaseline). 🥥 Be patient. Let it soak for 20-30 minutes. The glue will get soft. 2. EXFOLIATE (The Safe Way): Soak the area in warm water after it is cured. Gently scrub the soft glue with a pumice stone or a salt scrub. Go slowly. 3. HEAL (The Aftercare): Wash the area. Apply a thick, heavy occlusive. Vaseline or Aquaphor is best. This is the safe, effective plan. Your skin will be clean, soft, and undamaged. 🌟